2.4GHz Ergonomic Mouse for Mac & iPad: Setup Tips
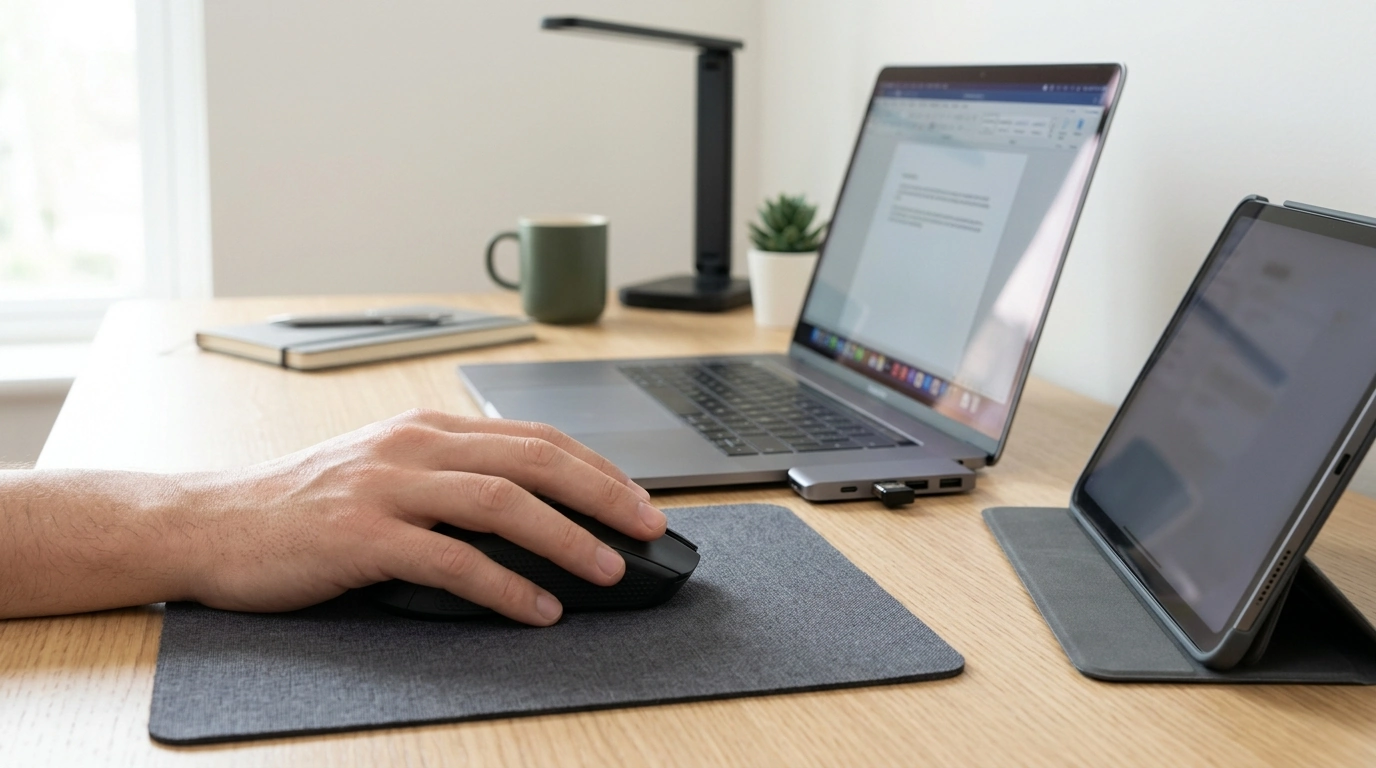
Wireless 2.4 GHz Ergonomic Gaming Mouse for Apple Devices: Comfort, Control, and Simple Setup
A responsive mouse can make everyday Mac work feel smoother and gaming feel more precise—without cluttering a desk with extra cables. A wireless 2.4 GHz ergonomic gaming mouse is a popular middle ground: quick setup, steady control, and a hand-friendly shape that holds up better during long sessions.
Below is a practical breakdown of how 2.4 GHz receiver-based mice fit into Mac and iPad workflows, what “ergonomic” really changes, and how to get stable performance at home, school, or on the go.
What a 2.4 GHz Wireless Mouse Means for Mac and iPad Users
A 2.4 GHz wireless mouse uses a small USB receiver (dongle) to create a dedicated connection between the mouse and your device. Unlike Bluetooth, it typically doesn’t require pairing screens or remembering devices—plug the receiver in and you’re usually ready to work.
- Steady responsiveness: Receiver-based connections often feel consistent for fast cursor movement, quick clicks, and rapid camera pans in games.
- Simpler start-up: No Bluetooth pairing steps; this is especially convenient on shared Macs, classrooms, or “hot desk” setups.
- Port planning matters: It’s a natural fit for Macs with USB-A ports. If your Mac only has USB-C, plan on a USB-C to USB-A adapter or hub.
- iPad can work, but depends on adapters: iPadOS supports mouse input, but the USB receiver must connect through a compatible adapter/hub, and the iPad must recognize the device input. Apple’s guidance on iPad pointing devices is here: Apple Support: Use a mouse or trackpad with iPad.
Ergonomic Shape: What Changes During Long Sessions
Ergonomics isn’t just about looking “curvy.” A contoured body can reduce wrist extension (the tendency to bend your wrist upward) and give your palm and fingers more stable support, which matters during long browsing, editing, study sessions, or late-night gaming.
Ergonomic fit checklist
| Check | Why it matters | Quick test |
|---|---|---|
| Palm support | Reduces pressure points and fatigue | Hand rests naturally without hovering |
| Thumb reach | Prevents awkward side pressure | Thumb hits side buttons without sliding forward |
| Wrist angle | Helps avoid bending the wrist upward | Wrist stays straight when moving the cursor |
| Weight feel | Affects control and effort | Can track smoothly without gripping tightly |
Gaming Performance Basics: Sensitivity, Tracking, and Buttons
- Sensitivity (DPI): DPI affects how far your pointer travels with each inch of hand movement. Higher DPI can feel faster; lower DPI can feel more precise. If DPI is a new concept, this overview is a helpful reference: Rtings: Mouse DPI explained.
- Tracking quality: The sensor and your surface both matter. A consistent mouse pad often improves stability, especially on glossy desks or textured tables that can cause micro-stutter.
- Buttons for real productivity: Back/forward buttons can speed up web browsing, file navigation, and app switching. Some apps also allow extra button mapping for actions like push-to-talk, brush size, or timeline scrubbing.
- macOS comfort factors: For many users, scroll feel and click feedback influence satisfaction more than max DPI. This is especially true in spreadsheets, creative tools, and long reading sessions.
Compatibility with Apple Devices: Practical Considerations
Device connection quick guide
| Apple device | What you may need | Typical setup |
|---|---|---|
| Mac with USB-A | Nothing extra | Plug receiver in and start using |
| Mac with USB-C only | USB-C to USB-A adapter or hub | Plug receiver into adapter/hub |
| iPad with USB-C | USB-C hub/adapter (may need power) | Connect receiver via hub, enable AssistiveTouch if needed |
| iPad with Lightning | Lightning to USB adapter (may need power) | Connect receiver via adapter, confirm pointer settings |
After connecting, macOS settings can make the mouse feel instantly more natural—especially if you’re coming from a trackpad. Apple’s guide to mouse settings on Mac is here: Apple Support: Change Mouse settings on Mac.
Setup Tips for Stable Wireless Performance
When a Budget Wireless Mouse Makes Sense
Product Options Available Now
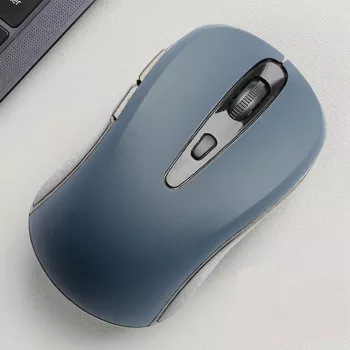
If you want a straightforward receiver-based mouse for Apple setups, the Wireless 2.4 GHz Ergonomic Gaming Mouse for Apple Devices is an easy place to start. It’s designed for comfortable daily use and responsive control, and it pairs well with a USB-C adapter for newer MacBooks and iMacs that don’t include USB-A ports.
For a compact Apple-focused add-on that complements a travel setup, the Apple AirTag Wallet Case helps keep essentials trackable, while the Secure Holder with Strap for Apple AirTag offers a simple way to attach an AirTag to bags or gear.
At-a-glance details
| Product | Price | Availability |
|---|---|---|
| Wireless 2.4 GHz Ergonomic Gaming Mouse for Apple Devices | $4.51 | In stock |
FAQ
Will a 2.4 GHz wireless mouse work with a MacBook that only has USB-C ports?
Yes, but the USB receiver needs a USB-A connection. Use a USB-C to USB-A adapter or a USB-C hub, then plug in the receiver—macOS typically recognizes it as a plug-and-play mouse.
Is 2.4 GHz better than Bluetooth for gaming on a Mac?
It can be, since a dedicated 2.4 GHz receiver often feels more consistent and avoids Bluetooth pairing steps. Bluetooth is more convenient for travel, but real-world performance depends on your environment and wireless congestion.
How can scrolling and right-click be adjusted on macOS?
Open System Settings and adjust Mouse options like tracking speed and scrolling direction, then set Secondary Click for right-click behavior. For more pointer tweaks, check Accessibility settings under Pointer Control.







Leave a comment